How to knit bands and borders
Published on 14 June 2019 1 min readIf you’re going to add buttons or edging bands to your work, you’ll need to attach them evenly. In this video, we’ll show you how to pick up the correct number of stitches along your work, by using pins and a coloured length of yarn.
Divide area before picking up step-by-step
1
Let's get started. First we are going to divide the work evenly. Lie the work on a flat surface, then divide the edge into even sections.
2
Pin it. Place a pin at each end of the edge.
3
Take your yarn. Take a coloured length of yarn and cut to length from one pin to the other.
4
Fold it. Fold the yarn in half and mark the central point with a pin.
5
Picking up stitches step-by-step
1
Insert your needle. With right side facing, insert a needle through the fabric from the front to the back between the first and second stitch in from the edge for a neat finish.
2
Wrap your yarn. Wrap the yarn around the needle and pull the loop through to form a stitch almost treating the fabric as if it was the other needle.
3
Keep it going. Continue in this way along the whole edge, picking up the required amount of stitches between each pin.
Sewing on a band step-by-step
Pro Tip
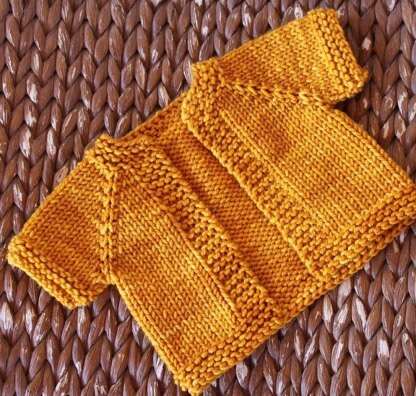
With right side facing it is common for the end of the row to be looser than the beginning of the row. Therefore, when working a cardigan, the right front side edge will be looser than the left front side edge. This is why it is important to count the rows of the bands to ensure they are the same length. Buttonholes can also distort the length of a band and make it appear longer than a band without buttonholes.
1
Increase it. When knitting bands separately from the main garment, increase an extra stitch on the inside edge of the band for sewing up.
2
Work and count. Work the whole button band first, counting the rows as you go.
3
Pint and sew. Pin then sew on using flat stitch slightly stretching as you go.
4
Keep going. Continue to sew on in flat stitch but don’t cast off until you are sure the band fits.
Grafting the two bands together step-by-step
1
Get ready. Lie the bands together with right side facing.
2
Knit together. Taking a third needle the same size, insert the needle into the front of the first stitch of the front band through to the first stitch on the second band, and knit both stitches together.
3
Repeat. Work the second stitch on both bands in same way.
4
Finish it. Then cast off the first stitch over the second stitch.
5
Next stitch. Work the next stitch from the front and back bands and cast off.
6
Keep going. Continue in this way to the end of the band.
Pro Tip
Grafting together this way will give you a flat seam that will lie properly at the back of the neckline.