Learn how to knit the picot bind-off
Published on December 19, 2018 By EmmaWe love a picot edging! Perfect for giving a flirty edge to your knitting project. Here, Amy Kaspar gives you a step by step guide to casting off picot-style.
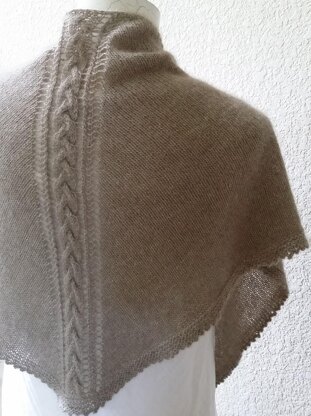
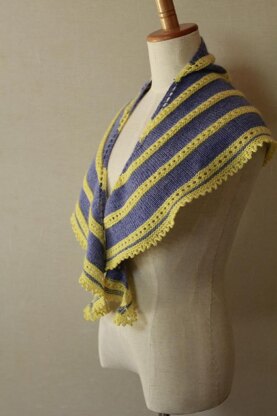
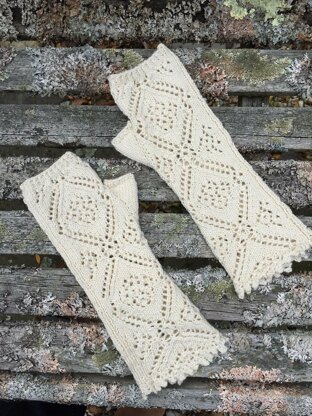
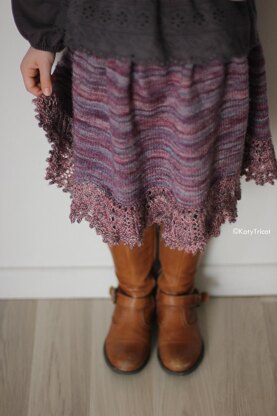
Are you looking to jazz up that rolled or hemmed edge in stockinette stitch? Do you want to make a plain shawl pop with little blips of fun on the outer edge? Do you want to make your fingerless mitts one teeny bit more flirty? Then, have I got the bind-off (or “cast off” for English knitters) for you!
A plain bind-off (cast off) is a great way to finish a piece, but a picot (pronounced PEE-koh or pe-KOH, depending on where you are in the world) bind-off gives you a little bit of flirt and bobble to rustle up an otherwise plain edge. There are a few factors to keep in mind when choosing this bind-off, but more on that later. Ready?
This bind-off can work with either a provisional cast-on or picked up stitches, so you can add picots to pretty much anything. Edges of fingerless mitts? Check! Pizzazz on a collar? Check! Hem on a plain skirt? Check!
There are also several ways to picot bind-off; this is one of the easier ones, but if you enjoy this technique there are plenty of variations on it. You can make the picots larger, you can make bobbles instead of picots (which involves changing the direction of the knitting), or you can even throw a yarnover in there to make that hole you create even larger. The possibilities are endless.
Picots are a fun addition to a hemline or edging and while it may take a bit more time and yarn, the end result will make people think you purchased your knitted item in a boutique. Go ahead… impress your friends!
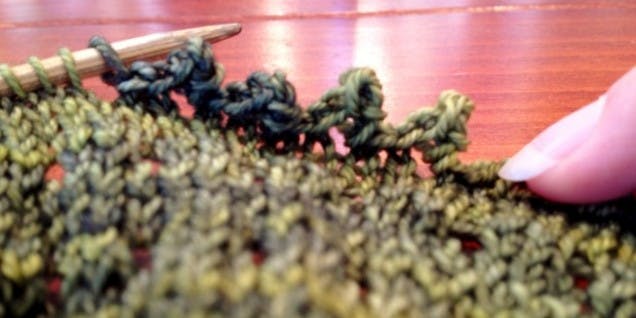
Working the picot bind-off
1
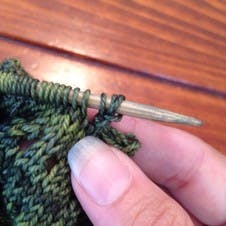
Cast on
To begin, cast on two stitches using the cable cast-on. The cable cast-on involves sticking your right needle between the first and second stitches on the left needle, without actually inserting the needle into a stitch.
Wrap the yarn around the needle as if to knit, pull up the loop through the front, and throw it onto the left hand needle in front of the first stitch.
Do this a second time, inserting the needle tip between the just-made stitch and the next stitch on the needle.
(Two stitches increased)
Pro Tip
You may have a jumbled mess on your hands; this is normal-looking because the cable cast-on (well, any cast-on) looks a bit wonky unless there are several stitches in a row.
2
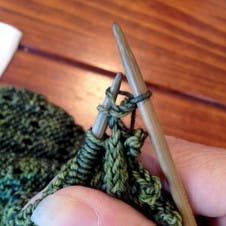
Knit
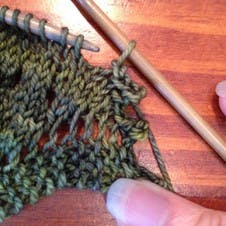
Bind-off (cast off) four stitches. Use the regular over-the-needle bind-off to which you are accustomed, so knit two stitches, and pull the right stitch (as you face it) over the left stitch on the right needle.
Knit a third stitch, and pull that right stitch over the left stitch on the right needle.
To get four bind-off stitches, you will have knit a total of five stitches and pulled a total of four stitches over on the right needle.
That fifth stitch will be left on the needle.
3
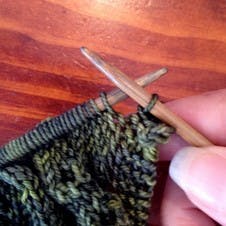
Purl
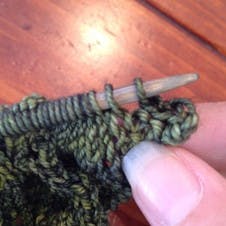
Place that last stitch (the fifth one in the bind-off sequence) back on the left needle.
Slip it purlwise.
There will be a slight gap between that stitch and the next one on the left needle, which is totally normal.
Repeat until you are out of stitches to bind off.
4
Bind off
Since the picot bind-off requires you to cast on two stitches for every two you are binding off (cast on two, bind-off those two plus the next two), you will need quite a bit of extra yarn for this technique. Make sure you budget for this when you are planning how much yarn you will need.
Also, this is one of those techniques that feels like it takes forever, but its beauty is worth it in the end. If you are knitting on a deadline (baby shower, anyone?), then just keep in mind that this bind-off takes way more time than a normal bind-off. The good news is that once you do two or three picots, you will be in a rhythm.
5
Keep it loose
You do not want to pull the stitches tightly as you go, but in between that second and third bind-off stitch, there will be a gap. You can give this one a little bit of a tug, but again, that little hole is in the middle of the picot and nobody will see it. The harder you tug on your yarn, the less the picots will stick out.
6
Block
Finally, this will not prevent stockinette stitch from rolling. It will still need to be blocked, and if you are feeling extra meticulous you can pin each and every picot so they pop beautifully on the end of your piece. If you want a more rustic and less machine-made look you can pin your item just below the picots and just let them fly as they may.