How to cast on in knitting 7 ways
Published on March 28, 2020 7 min read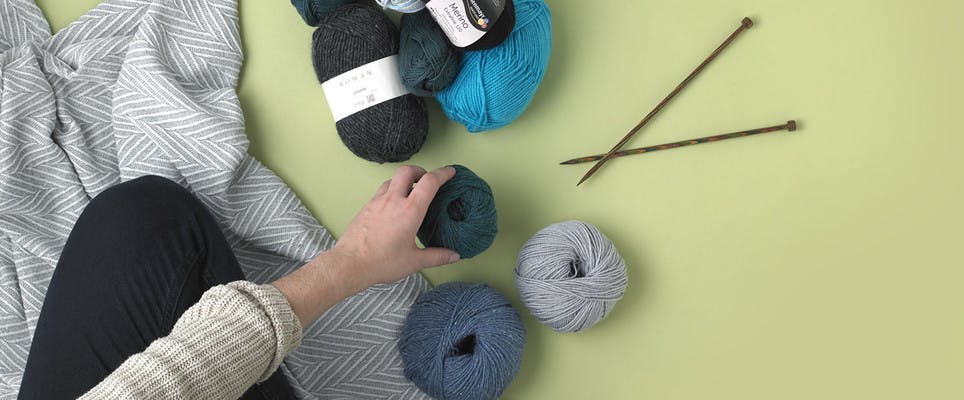
Learning how to cast on is the first and most basic step to start your knitting journey. There are various different cast on methods, all fun and useful, that you can use depending on your skill level and chosen project. Here at LoveCrafts we love introducing our fellow knitters to new techniques, so get your yarn and needles ready as we show you seven different ways of how to cast on knitting in simple steps.
Steps to cast on knitting stitches
Different cast on knitting techniques suit different projects, and you'll find some methods you prefer more than others. We've rounded up seven different cast on knitting methods complete with helpful video tutorials, so you can become a pro in no time!
This guide includes:
- How to basic cast on
- How to cable cast on
- How to long tail cast on
- How to German cast on
- How to Picot cast on
- How to work provisional cast on
- How to cast on in the middle of a row
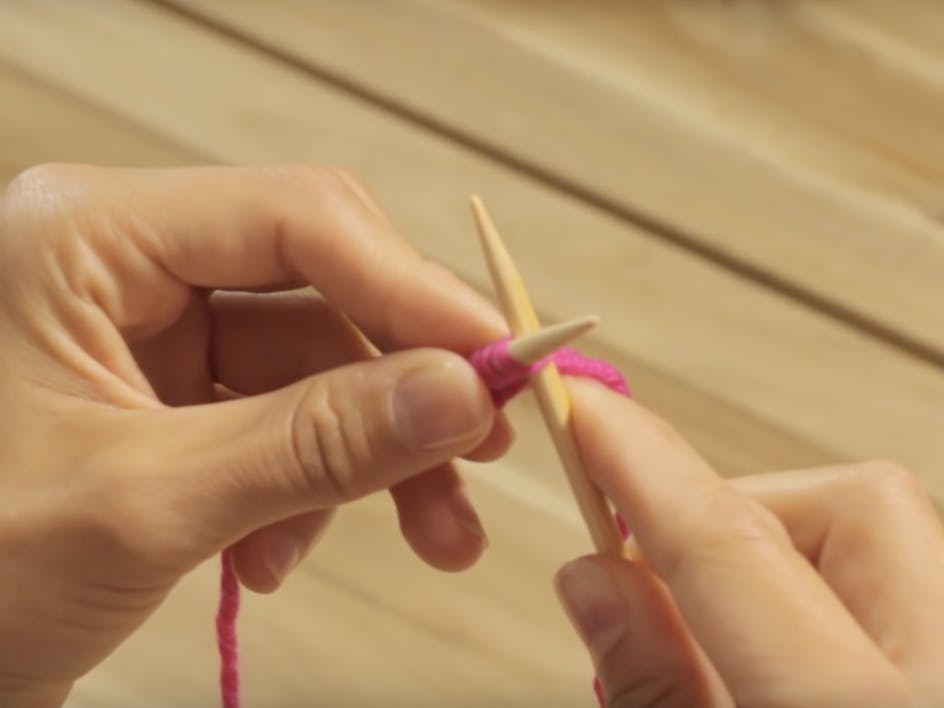
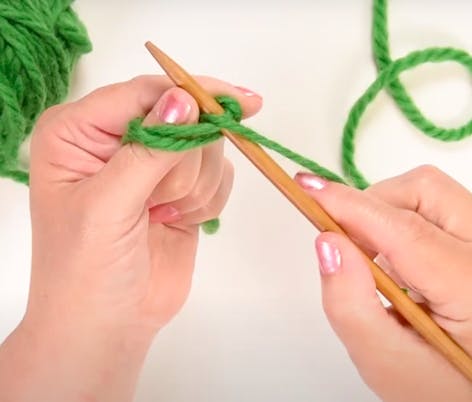
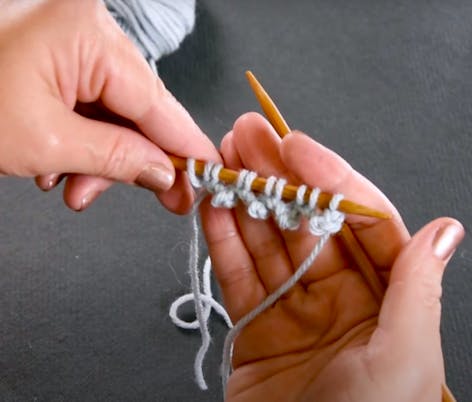
1. How to basic cast on in knitting
The knit cast on is a great method for beginners and also useful when casting on mid-project. A variation of this, called a cable cast on, is where you put the knitting needle between two stitches instead of in the stitch.

How to work a knit cast on
- Create a slip knot. Place the slip knot on the left needle and insert the point of the right needle into it.
- Insert the needle into the slip knot. Insert the tip of the right needle into the slip knot and cross it under the left needle.
- Bring the working yarn around the right needle tip. Take the yarn with your right hand, and loop around the right hand needle.
- Bring the right needle under the left and through to the front.
- Bring the yarn under the right hand needle to create a loop (stitch).
- Transfer the stitch to left needle. Now remove the right needle, so the loop is transferred to the left needle. Pull the yarn to secure.
- You’ve cast on your first stitch ! You will now have two stitches on your left hand needle.
- Repeat!
2. Cable cast on technique
The cable cast on is great for beginners, producing a beautifully straight edge which is perfect for visible hems and edges. It is similar to working a knitted cast on, but instead of knitting into each stitch to create a new one, you work between the stitches.
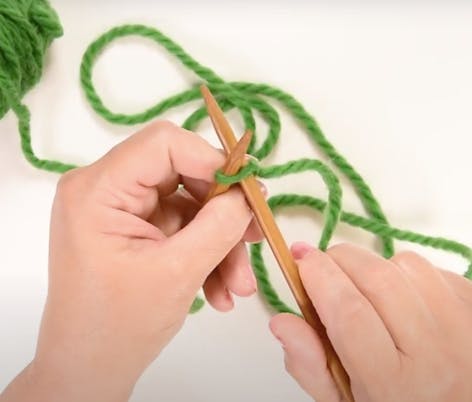

How to work a cable cast on in knitting
- Make a slip knot.
- Place the loop on the needle and tighten.
- Insert the right needle, knit wise.
- Bring the yarn around the needle, then bring the needle underneath, and pull a loop upwards onto the left hand needle.
- Now, insert the needle between the two stitches and bring the yarn around the needle.
- Pull the loop upwards onto the left needle.
- Repeat until you have your desired amount of stitches.
3. Long tail cast on
Casting on with your thumb is a fast way of working a long-tail cast-on, perfect for yarn with a firm twist. This method follows the knitted cast-on method, but uses a thumb instead of one needle. It's faster than working with two needles, hence its popularity!
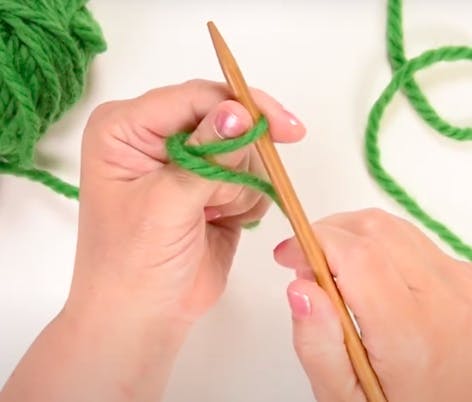
How to work a long tail cast on
- Pull three times the width of the project you are knitting.
- Wind the yarn around your thumb, and insert a needle knitwise.
- Bring the yarn around the needle.
- Bring the needle through the stitch and on to the needle. Pull to tighten.
- Repeat until you have the required amount of stitches.
4. German cast on
A German cast on, also known at the Norwegian cast on, uses two strands of yarn and is great for casting on quickly. Typically, you’ll pull out a length of yarn from the ball, divide it in half and start the cast on at that point, using both the long tail and the working yarn. This is for slightly more experienced knitters as it’s easy to miscalculate the length of the tail required. An alternative is to use two ends – the inside and outside of a ball, for example – but this means more ends to weave in.
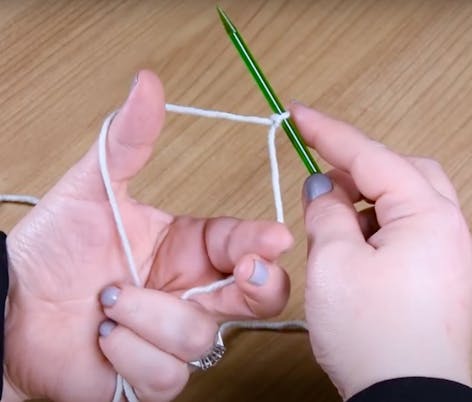
How to work a German cast on
- Make a slip knot and place it on your needle.
- Push your index finger and thumb through the two strands of yarn to form a diamond shape.
- Place the tip of the needle under both strands of the yarn around your thumb, and bring the needle through the middle of the threads on your thumb.
- Wrap the needle around the top strand of yarn on your index finger. Moving the needle over then under.
- Now push the needle through the small opening of the crossed yarns on your thumb.
- Drop the yarn from your fingers and pull to tighten around the needle.
- Place your fingers, yarn, and needle in position for the next stitch and repeat as many times as needed.
5. Picot cast on
The Picot cast on is more time consuming and intricate than our other methods, and is more suited to those who know their way around their needles. It's great for adding a pretty frilled edging to your knitting project!
How to work a Picot cast on
- Make a slip knot, or cast on one stitch.
- Cast on 5 stitches using the cable cast on method (see above).
- Cast off 2 stitches and place the remaining stitch back onto the left hand needle.
- Cast on 4 stitches using the cable cast on method.
- Cast off 2 stitches and place the remains stitch back onto the left hand needle.
- Cast on 4 stitches using the cable cast on method.
- Cast off 2 stitches and place the remains stitch back onto the left hand needle.
- Repeat as necessary!
6. Provisional cast on
A provisional cast on is a great way of casting on temporarily, when you still might need live stitches at the beginning of your work. It's particularly useful if you need to pick up stitches later on for an edging, or when you're not sure how long something needs to be. You can use this method for cuffs, necklines and contrasting stitch patterns.
How to work a provisional cast on
- Using waste yarn, crochet a chain with at least five stitches more than your project needs.
- Break off the yarn, and bring the tail loosely through the last chain.
- One side of the chain will have rounded bumps. Insert your needle through the first bump, as if you were picking up stitches.
- Continue until you have as many bumps on your needle as you need stitches.
- Start knitting with your project yarn. That's all there is to it!
7. How to cast on in the middle of a row
There are times in a knitting project where you need to cast on in the middle of a row to create more fullness, or for a button hole, or to create a pocket, and we've got a video to show you how to do it!
How to cast on in the middle of a row
- Knit until the moment where you need to cast on in the row.
- Turn the work on to the wrong side.
- Using the cable cast on method (scroll up for a refresher!), cast on stitches on the left hand needle. Insert the needle BETWEEN the first two stitches, bring the yarn around the needle, pull back underneath and lift the new stitch through. Slide the new stitch on to the left hand needle.
- Continue until you have as many new stitches as you need.
- Turn the work back around to the right side, and work the stitches as the pattern requires.